In 2026, choosing a patio door means balancing daylight, security, weather resistance, and daily comfort. A beautiful glass panel is not enough. The frame must suit the wall opening, floor level, and local climate. Buyers also need to understand installation costs before ordering a door.
This guide explains patio door installation in practical terms, from measuring the rough opening to checking the threshold seal. It considers sliding, hinged, folding, and multi-panel systems. Each style changes how people move furniture, clean glass, and use outdoor space. A narrow deck may favor a slider, while a wide garden opening may justify folding panels. Small details matter. A two-millimeter error can create drafts, sticking rollers, or uneven locks.
Good advice comes from more than product brochures. Experienced installers inspect moisture damage, subfloor strength, flashing, and drainage before fitting anything. They also explain which tasks require qualified local professionals. We will compare materials, glazing, hardware, warranties, labor estimates, and maintenance needs. Energy ratings deserve attention, but they do not replace correct fitting. That point is often overlooked. Even an expensive, efficient door can perform poorly when the sill is exposed or the opening is out of square. No guide can predict every home. Conditions vary. Use these recommendations as a careful framework, then confirm measurements and installation details on site.
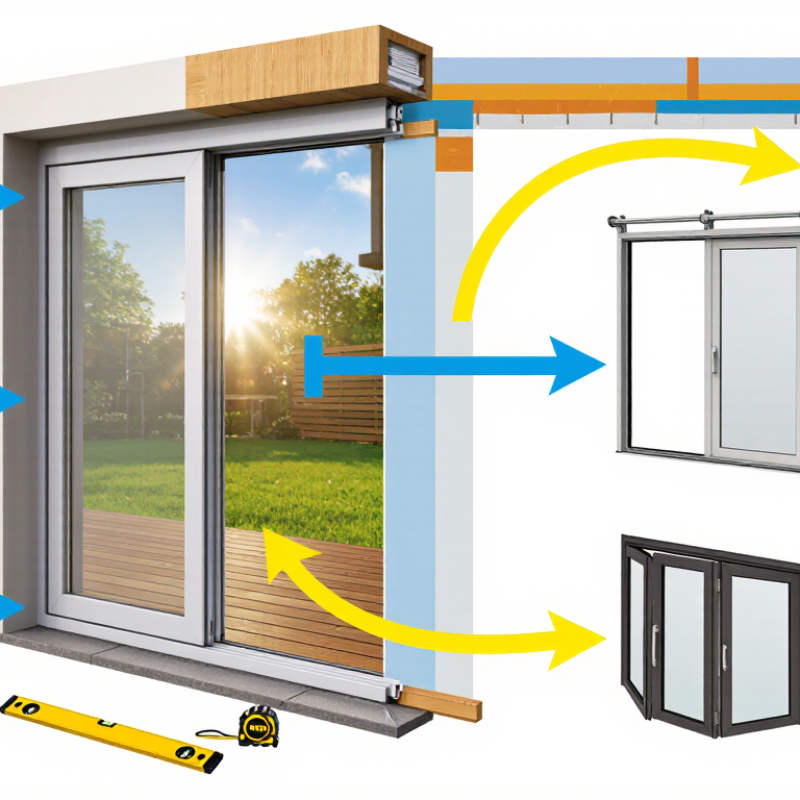
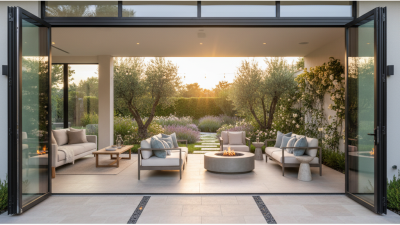
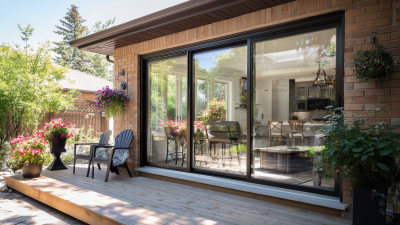
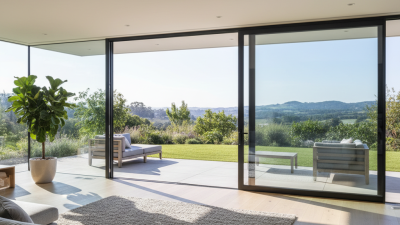
In 2026, choosing a patio door starts with the opening, not the finish. Sliding doors suit narrow decks because panels travel horizontally. Hinged or French doors need clear swing space, but offer a familiar, furniture-friendly passage. Folding and multi-slide systems create wider openings, though their tracks demand precise installation and regular cleaning. A wider opening is not automatically better.
Material changes performance and maintenance. Vinyl usually offers low upkeep and moderate cost. Fiberglass resists moisture and frame movement. Aluminum provides slim sightlines, but thermal breaks matter in cold climates. Wood adds warmth and can perform well when sealed carefully. The U.S. Department of Energy estimates that windows and doors can represent 25–30% of residential heating and cooling energy use. Check the NFRC label for U-factor and solar heat gain coefficient, rather than trusting glass size alone.
Installation quality can defeat a good specification. Measure the rough opening at the top, center, and sill; older walls are often imperfect. I have seen a small sill slope create drainage problems after heavy rain. Keep this detail. Confirm flashing, pan protection, shims, fasteners, and air sealing before interior trim covers them. The 2020 U.S. Energy Information Administration Residential Energy Consumption Survey also shows that climate and home age strongly influence household energy use. That makes local exposure, orientation, and ventilation important. A door selected from a brochure may still fail on a windy, shaded wall.
Common nominal patio-door widths vary by opening configuration. Two-panel sliding doors are often 60 or 72 inches wide, while larger three- and four-panel systems commonly use 72- and 96-inch openings. Confirm rough-opening requirements with the installation specifications before ordering.
Sliding doors are space-efficient and widely used for standard openings. Hinged or French-style doors provide a traditional swing operation and commonly fit narrower paired openings. Folding systems create wider clear openings but require more wall space and stronger structural support. Vinyl, aluminum, wood, and fiberglass are common material choices; compare weather resistance, thermal performance, maintenance requirements, and local climate conditions before installation.
2026 Best Patio Door Installation Guide for Buyers
How to Measure the Patio Door Opening Accurately
Accurate measurements prevent expensive installation problems. Start by removing interior trim carefully, then expose the rough opening. Measure the width at the top, middle, and bottom. Record the smallest number. Measure the height on the left, center, and right sides. Again, use the smallest result. Do not measure the existing door panel alone.
Measure twice. Then check again.
Use a steel tape, not a flexible ruler. Keep it straight and level across each span. Measure from the finished floor or sill to the underside of the header. If flooring will change, mark the expected final height. Check the opening diagonally from corner to corner. Differences above about 6 millimeters may indicate an out-of-square frame.
Look for moisture damage, soft wood, cracked masonry, or a sloping sill. These conditions can change the installation plan. I once measured only the center width, and the lower frame was nearly 10 millimeters narrower. That mistake would have caused binding and poor weather sealing. My method was incomplete. A second person should verify every number before ordering. Leave the manufacturer’s required installation clearance, because the rough opening size is not always the door unit size. Keep written measurements, photos, and notes about wall thickness, trim, and drainage. An experienced installer can review these details before materials arrive.
Use the smallest measured opening dimension when checking door compatibility. Record measurements in inches and millimeters where possible.
| Step | Measurement Dimension | Where to Measure | Accurate Measuring Method | Example Result | Buyer’s Decision or Check |
|---|---|---|---|---|---|
| 1 | Opening width | Measure horizontally between the inside edges of the side jambs at the top, center, and bottom of the opening. | Keep the tape level and measure to the nearest 1/16 in (1.6 mm). Do not measure across the exterior trim. | Top: 71 7/8 in Center: 72 in Bottom: 71 3/4 in Smallest: 71 3/4 in |
Use the smallest width for product selection. A difference between readings may indicate bowed jambs or an out-of-square opening. |
| 2 | Opening height | Measure vertically from the highest point of the finished sill to the underside of the head jamb at the left, center, and right. | Place the tape plumb. Measure from the actual supporting sill surface, not from a removable interior screen track. | Left: 80 1/8 in Center: 80 in Right: 79 7/8 in Smallest: 79 7/8 in |
Use the smallest height. Account for the sill pan, shims, flooring, and installation clearance specified by the selected door system. |
| 3 | Jamb depth | Measure from the interior face of the jamb to the exterior face, including any fixed jamb extensions but excluding removable casing. | Measure at several points because wall thickness and trim can vary. Record the available depth in inches and millimeters. | Available jamb depth: 5 1/2 in (139.7 mm) |
Confirm that the frame, sill pan, interior casing, and exterior trim can fit without covering drainage paths or interfering with operation. |
| 4 | Opening diagonals | Measure from the top-left corner to the bottom-right corner, then from the top-right corner to the bottom-left corner. | Hook the tape in the same corner locations for both readings. Keep the tape straight and free of obstructions. | Diagonal A: 107 1/4 in Diagonal B: 107 1/2 in Difference: 1/4 in |
Equal diagonals indicate a more square opening. A larger difference may require correction before installation; follow the door manufacturer’s tolerance. |
| 5 | Sill level | Check the full width of the sill where the new door will sit. | Use a spirit level or digital level. Check at the front, middle, and back of the sill, especially near the drainage channel. | Measured slope: 1/8 in across 72 in (3.2 mm across 1,829 mm) |
The sill must meet the selected system’s levelness requirement. Correct high or low areas before setting the frame. |
| 6 | Jamb plumb | Check both side jambs from top to bottom. | Hold a long level or plumb tool against each jamb. Record whether each jamb leans inward or outward. | Left jamb: 1/8 in out of plumb Right jamb: 3/16 in out of plumb |
Minor variations may be corrected with shims. Excessive lean can prevent smooth panel movement and may require framing adjustment. |
| 7 | Existing door and frame condition | Inspect the sill, jambs, head, sheathing, flooring, and adjacent wall for rot, moisture damage, cracks, or movement. | Probe suspicious wood areas carefully and look for staining, soft material, failed sealant, or water tracks. | Example finding: localized sill deterioration near the exterior corner. | Repair structural or moisture damage before measuring the final opening or installing the replacement door. |
| 8 | Operating and clearance area | Check the interior and exterior space around the door, including furniture, steps, railings, walls, and neighboring panels. | Confirm the active panel can slide or swing fully and that the handle, screen, lock, and trim will not collide with nearby objects. | Example: 36 in clear interior passage required for planned furniture movement. | Choose the handing and operating configuration based on the actual room layout and exterior access conditions. |
| 9 | Record the final buying dimensions | Summarize the smallest width, smallest height, jamb depth, sill condition, and squareness results. | Do not round measurements upward. Provide the complete measurement sheet and photos to the installer or supplier. | Width: 71 3/4 in Height: 79 7/8 in Depth: 5 1/2 in Diagonal difference: 1/4 in |
Compare the rough-opening requirements, frame dimensions, installation clearance, and sill details of the exact product before ordering. |
Choosing a patio door starts with the room, not the showroom. Measure the opening, wall direction, and nearby furniture before comparing models. South-facing glass may create heavy summer heat. In colder regions, low U-factor glass helps reduce indoor heat loss. A low-emissivity coating can limit fading without making the room feel dark. Double glazing suits many homes, while triple glazing may help in severe climates. Ask for tested U-factor and solar heat gain data. Decorative glass can look attractive, but it may reduce natural light.
Security depends on more than a strong-looking handle. Laminated glass is harder to penetrate than ordinary single-pane glass. Tempered glass offers safer breakage, but it is not the same security solution. A multi-point lock can hold the door at several points. Anti-lift blocks help prevent removal from the outside track. Check whether the lock remains easy to operate after seasonal movement. It should not require force.
Hardware needs attention in wet or coastal areas. Choose corrosion-resistant finishes and sturdy rollers. Inspect the track for drainage paths and dirt access. Professional installation should include a level sill, proper flashing, and sealed joints. Even excellent glass performs poorly when air leaks around the frame. I have seen beautiful doors develop drafts because the opening was slightly out of square. Specifications matter, but installation details matter more than many buyers expect.
Patio door installation starts with the opening, not the door.
Buyers usually compare retrofit installation with full-frame replacement. Retrofit work keeps the existing frame, trim, and some interior finishes. It is faster and often costs less when the sill remains sound. Full-frame work removes the frame and exposes the rough opening. That method costs more, but it reveals hidden rot, poor flashing, and uneven walls. New-construction installation suits major remodeling and may require exterior siding changes.
Typical installation costs vary by region, door size, wall condition, and labor access. A simple retrofit may cost about $500 to $1,200 in labor. Full-frame installation can reach $1,500 or more before structural repairs.
Ask for separate prices for removal, disposal, flashing, trim, permits, and interior touch-ups. Low estimates can look attractive. They may exclude waterproofing.
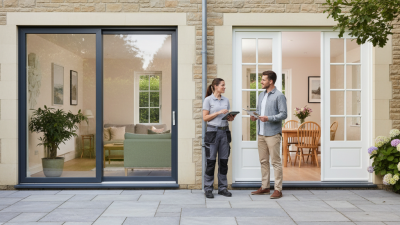
Professional installation is strongly recommended for heavy glass doors and altered openings. A qualified installer should check the sill with a level, confirm square corners, and integrate flashing with the drainage plane. The door must open smoothly without forcing the rollers. Even a small gap can invite wind, insects, or rain.
One practical lesson is easy to miss: foam alone does not replace proper shimming.
I have seen careful-looking work fail because the exterior seal was rushed. That detail deserves a second inspection after the first rainfall.
DIY installation may suit an experienced renovator, but permits, structural changes, and local energy requirements can change the risk.
Measure the opening before removing the old door. Check width, height, wall condition, and floor level. Protect the floor with a drop cloth. Two people should lift the new panel. It is heavier than it appears. Remove debris, then inspect the sill for rot, moisture, or uneven surfaces. Repair weak areas before installation.
Set the sill pan or approved waterproof barrier according to the project instructions. Apply compatible sealant at the required joints. Place the frame carefully and use shims near every fixing point. Check the frame for level, plumb, and square. Measure the diagonals; they should be nearly equal. Secure the frame without overtightening the screws. Excess pressure can twist the opening. I have seen this small mistake cause difficult sliding later.
Install the operating panel, rollers, handle, lock, and screen. Adjust the rollers until the panel moves smoothly with light pressure. Check the meeting rails and confirm that the lock engages fully. Seal exterior gaps, but do not block designed drainage paths. A controlled hose test can reveal leaks around the sill and corners. Inspect the interior for drafts, movement, or visible daylight. Recheck the screws after operation. Photograph the finished seals and keep the installation records. The frame may look excellent, yet a neglected drain path can create trouble after heavy rain.